In a recent virtual tabletop wargame, Alessandro “Davout” Mella and Mark “Hohenzollern” Montonara faced off near the Danube in the demo scenario Eagles on the Danube, drawn from the newly released Eagles to Glory: Grand Tactical Napoleonic Miniatures Rules.
The game unfolded over two sessions, with a total playtime of about three hours. Thanks to Tabletop Simulator, we were able to command our armies from opposite sides of the world—two generals on two continents sharing one battlefield.
What follows is a brief Eagles to Glory After Action Report. If you’ve played this demo scenario yourself, we’d love to hear how your experience compared.
The Battlefield
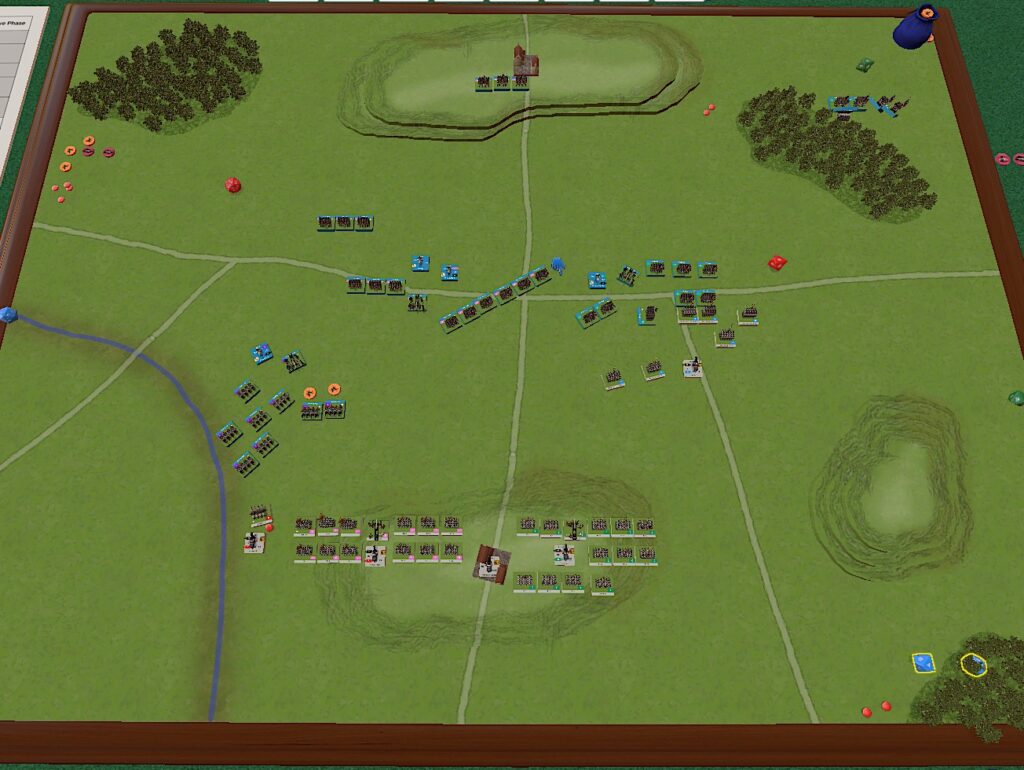
The engagement is set on April 20, 1809, pitting Marshal Davout’s French III Corps against Prince Hohenzollern’s Austrian III Corps. The action takes place between two small villages perched on opposing ridge lines, separated by a shallow valley—a deceptively simple landscape that would soon become a crucible of tactical maneuver and musket fire.
The Eagles to Glory After Action Report
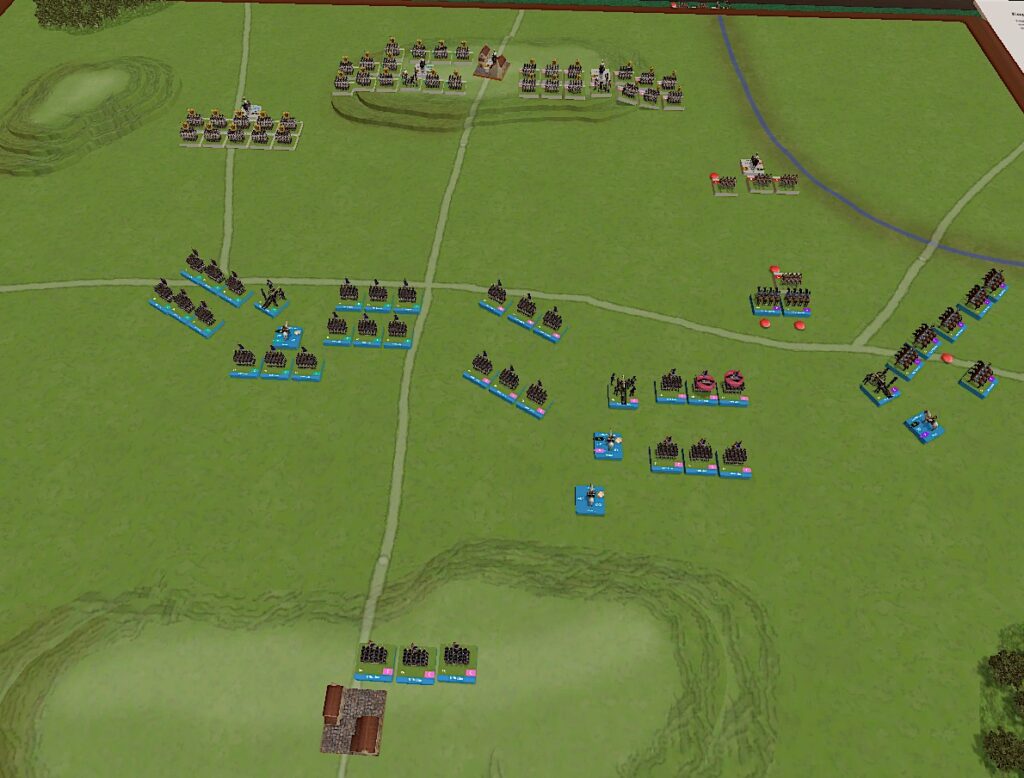
As the battle commenced, the French advanced boldly into the valley, their columns snaking forward toward the Austrian ridge. Only a small detachment remained behind to hold the rear village—a thin safeguard should the tide of battle turn.
Sensing the French intent, the Austrians reacted swiftly and with precision. Their cavalry surged ahead on the left flank, eager to challenge the opposing French horsemen before they could gain momentum. On the right, the elite Grenadier Division pressed forward in disciplined formation, their white-coated ranks glinting in the morning light. Meanwhile, the two central divisions of the Austrian line held firm atop the ridge, their guns and muskets trained on the advancing enemy below—silent for now, but ready to unleash devastation once the range closed.
The Struggle on the Flanks
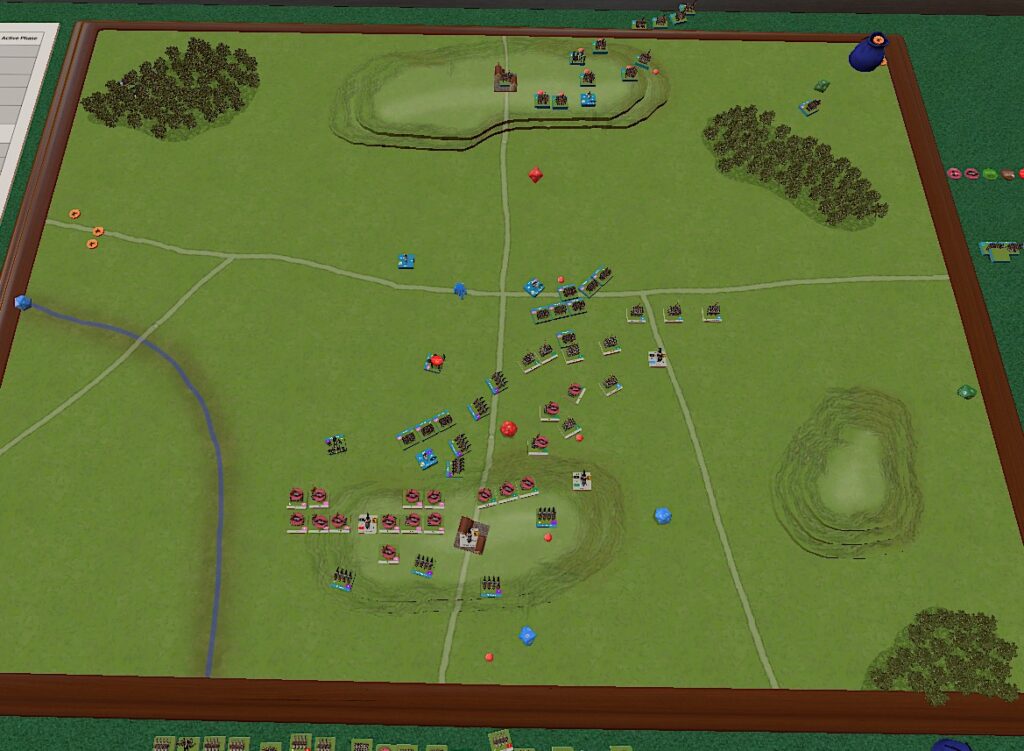
For the next two hours of game time, fierce fighting erupted along both flanks. Smoke and dust cloaked the valley as the lines surged and recoiled in a deadly rhythm.
On the French left, the Austrian Grenadiers seized the moment, their musket volleys and bayonet charges bolstered by a string of fortunate rolls. They hammered the French advance relentlessly, inflicting heavy losses—but at the cost of their own strength. Both formations were left bloodied and wavering.
Meanwhile, on the opposite flank, a ferocious cavalry duel unfolded. The Austrian light horsemen fought gallantly but were gradually worn down under repeated French charges from both hussars and heavy dragoons. When their Division Points collapsed, the Austrian cavalry finally broke and fled the field in disorder, leaving the right wing dangerously exposed.
With the Austrian flank now unguarded, the French cavalry swept around like wolves on the hunt, menacing the ridge line. Under threat of envelopment, the Austrian infantry hastily formed squares across the slope—a desperate but disciplined response. Their predicament worsened moments later when a French horse battery galloped forward, unlimbered within canister range, and tore into the nearest Austrian artillery and infantry squares with devastating effect.
The Austrian Resurgence
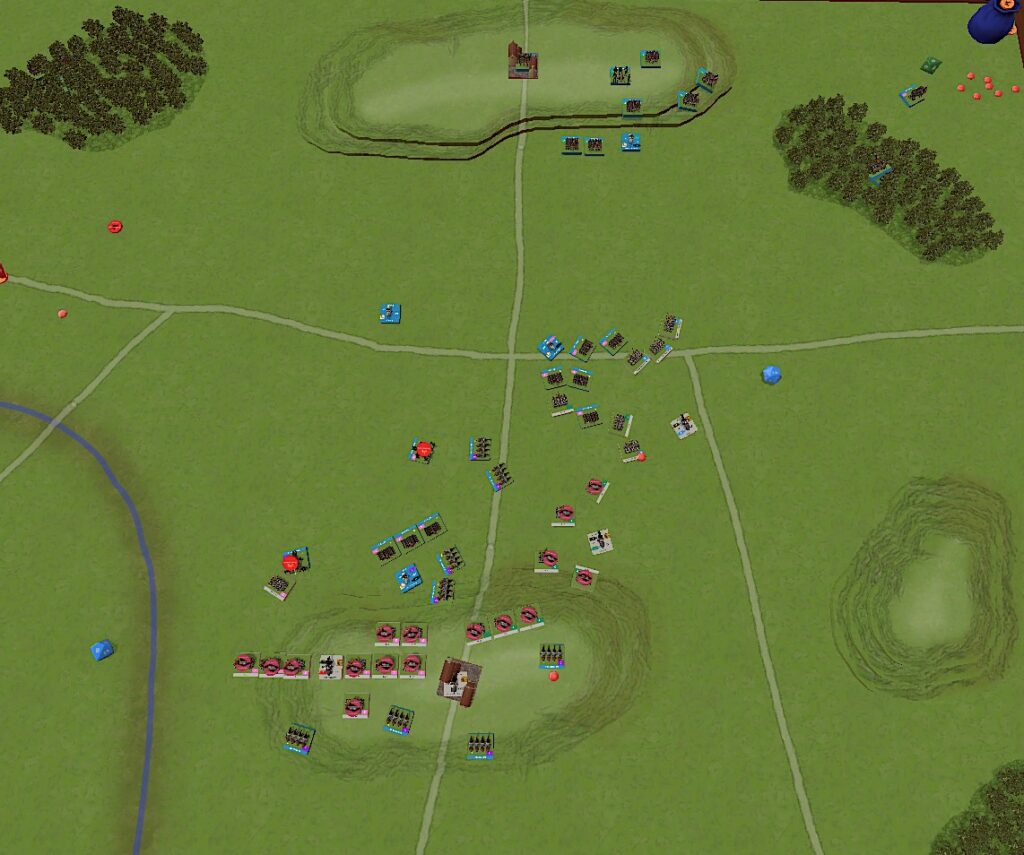
After hours of punishing combat, fortune at last shifted toward the Austrians. On the French left, the exhausted division that had borne the brunt of the Grenadiers’ assault finally began to falter. The relentless volleys and close fighting had taken their toll; discipline wavered, and a disastrous activation roll sealed their fate. The French line broke under pressure, routing in disorder toward the ridgeline.
The battered but unbowed Austrian Grenadiers pressed their advantage, wheeling toward the exposed French center to renew the attack. At the same time, the Austrian division on the right side of the ridge, finally received its activation orders. With banners unfurled and drums beating, these fresh troops descended the slope to join the fray, adding new weight to the Austrian counterstroke and putting mounting pressure on the advancing French formations.

The French Center Falters
As the fighting wore on, the French center found itself dangerously isolated amid the smoke-filled valley. With their left shattered and their right preoccupied, these beleaguered battalions now bore the full weight of the Austrian counterattack.
Meanwhile, the French cavalry—bloodied and exhausted after more than four hours of continuous combat—began to waver. A poor activation roll proved disastrous: cohesion broke, and the weary horsemen withdrew toward their own lines. Their retreat lifted the pressure from the Austrian squares, giving the defenders a brief but much-needed respite to steady their ranks and reform under the fluttering white banners of the Habsburg line.
The Aftermath
The routed French division on the left gradually regained its composure, aided by a string of successful activation rolls. The shaken troops managed to rally along the ridge—but their fatigue was too great. Though steadied, they were in no condition to rejoin the fight.
After five hours of hard-fought game time, both commanders agreed to call the battle. Neither side had managed to seize the opposing village, leaving that victory condition unresolved. Yet the Austrians had paid the higher price: their cavalry division was virtually annihilated, tipping the balance of losses. When the points were tallied, the Austrians had suffered 850 points in casualties to the French 440—a clear, if hard-earned, French victory.
Wrap-Up
Eagles to Glory once again proved its worth as a rich and rewarding system for large-scale Napoleonic engagements. The Division Points (DP) mechanic stands out for how well it captures the ebb and flow of fatigue, morale, and cohesion within each division. High DPs keep formations advancing with momentum, while depleted ones struggle even to hold their ground—perfectly mirroring the grinding exhaustion of real Napoleonic warfare.
In this scenario, the Austrian divisions that remained idle on the ridge preserved their strength far longer than those engaged early in the battle. Their late-game freshness hinted at what might have been: given another five or more turns, the Austrians could perhaps have pressed the French line and even seized their objective—but at terrible cost. It would have been, as Wellington once said, a “close-run thing.”
Your Turn
Have you played Eagles on the Danube yourself?
Share your own After Action Reports, battle photos, or tactical insights—we’d love to see how your version of this clash unfolded!